Subtitle Generator
This project provides a web application that automatically generates subtitles (in SRT or VTT format) from audio files. It leverages the power of OpenAI’s Whisper speech recognition model for transcription and pyannote.audio for speaker diarization, all wrapped in a user-friendly FastAPI web interface.
Features
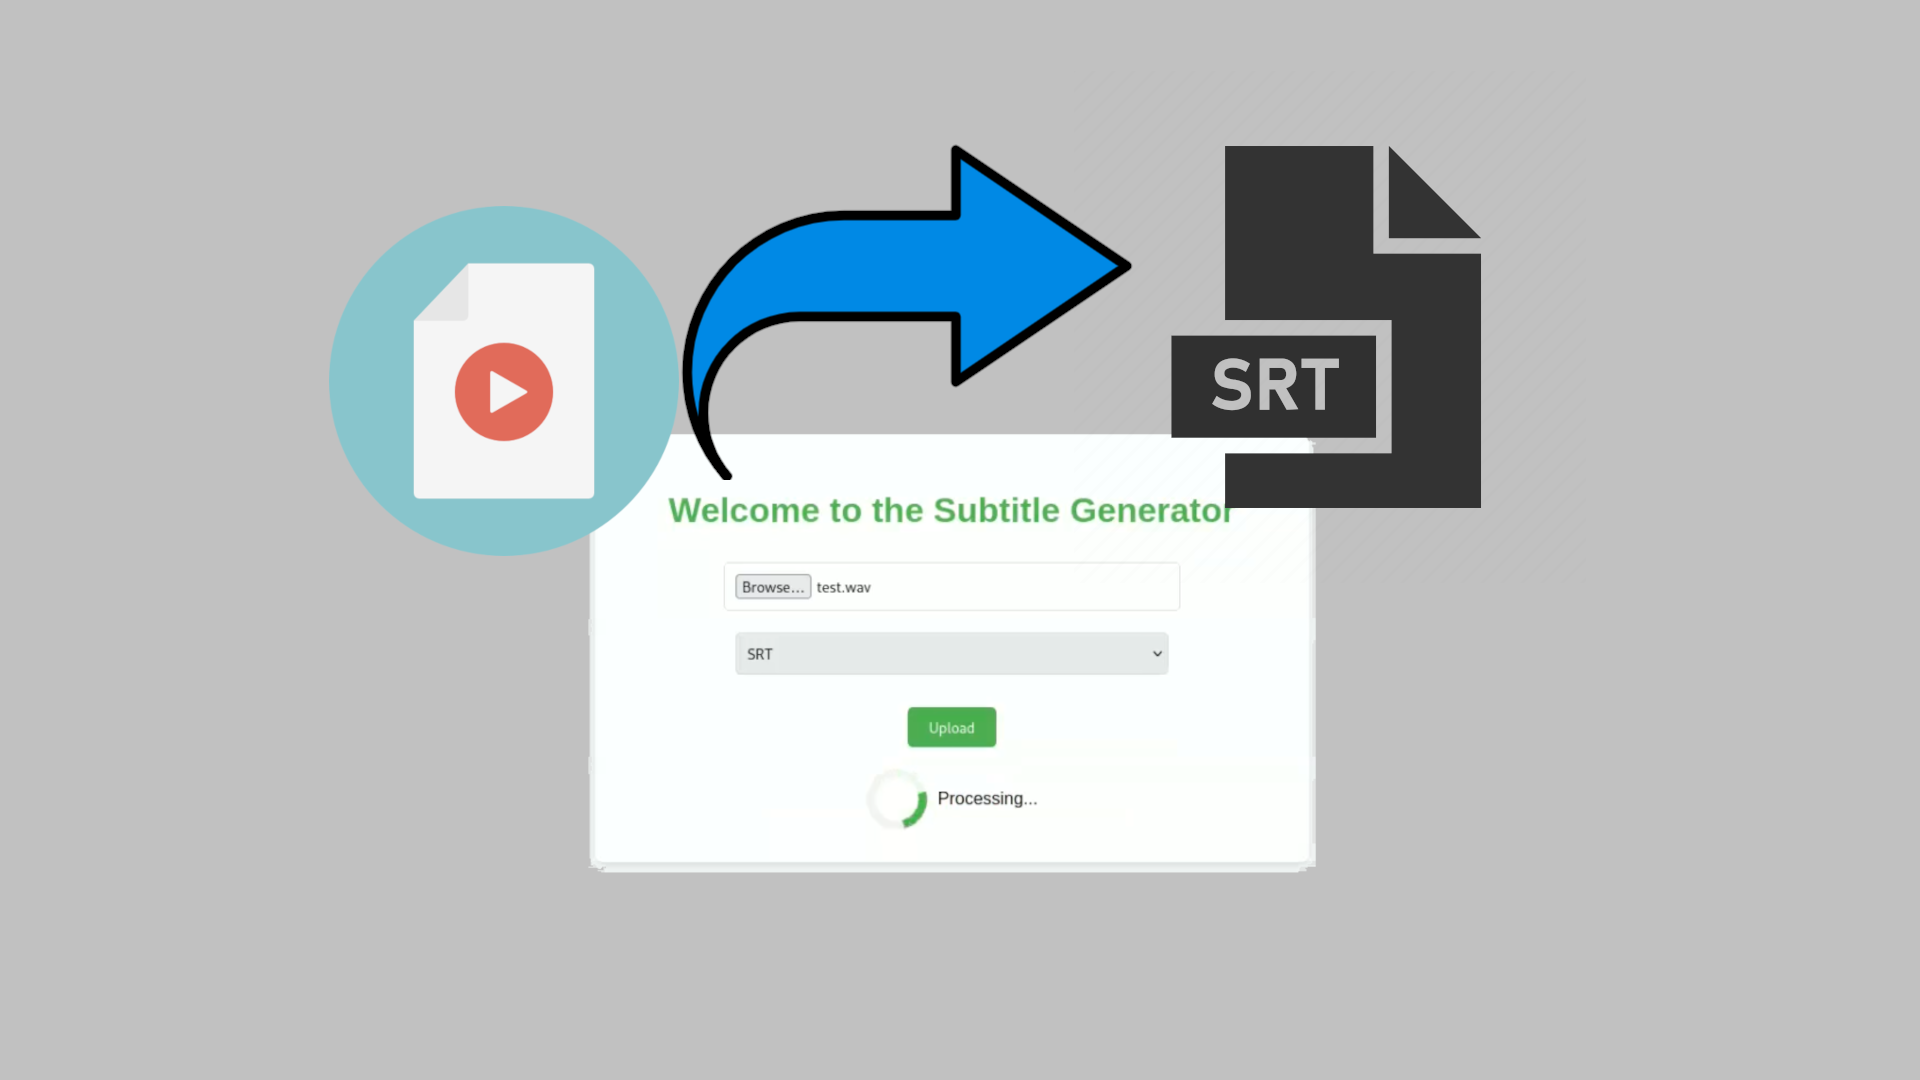
- Web Interface: A clean, simple HTML interface for uploading audio files. No complex command-line usage is required.
- Multiple Audio Formats: Supports
.wav,.mp3,.m4a, and.flacfiles. Automatic conversion to WAV is handled internally. - Speaker Diarization: Identifies different speakers in the audio and includes speaker labels in the generated subtitles.
- Subtitle Formats: Generates subtitles in either
.srt(SubRip) or.vtt(WebVTT) format, selectable via the web interface. - Fast and Efficient: Utilizes a dynamically selected Whisper model (from
tinytolarge) based on your system’s available RAM and VRAM (GPU memory), optimizing for performance and accuracy. - Easy Deployment: Can be run directly with Uvicorn or easily deployed using Docker and Docker Compose.
- Well-Defined API: A single
/upload-audio/endpoint handles file uploads and subtitle generation, with clear request and response formats. - File Size Limit: The maximum upload file is limited to 50MB.
Requirements
Before you get started, make sure you have the following:
Hugging Face Account and Token:
- You must have a Hugging Face account. Create one at Hugging Face.
- Generate an access token (with at least read access) from your Hugging Face settings. You’ll need this token for both direct execution and Docker deployment.
- Accept User Agreements: Crucially, you need to visit both of these pages and accept the user agreements:
- Store your Hugging Face token into a
.envfile, or store it in the environment variable HF_AUTH_TOKEN.
Python: Python 3.7 or higher is recommended. Check your version:
python --version # or python3 --versionFFmpeg: This is essential for audio processing. Install it using your system’s package manager:
Ubuntu/Debian:
sudo apt update
sudo apt install ffmpeg
macOS (using Homebrew):
brew install ffmpegWindows: Download a pre-built binary from a trusted source (e.g., gyan.dev). Add the
bindirectory containingffmpeg.exeandffprobe.exeto your system’s PATH environment variable. Test this thoroughly by opening a new command prompt and typingffmpeg -version.Verification (all platforms): After installation, always verify:
ffmpeg -version
Python Packages: Install the required libraries via pip:
pip install -r requirements.txtEnsure your
requirements.txtfile contains:uvicorn fastapi python-multipart pydub openai-whisper pyannote.audio dotenv psutil torch
Setup and Running the Application
Option 1: Running Directly without Docker (Recommended if CUDA)
Clone the Repository (Optional):
git clone <repository_url>
cd <repository_directory>
(Skip this if you have the files directly.)
Create
index.html: Make sure theindex.htmlfile is in the same directory asmain.py.Create
.envfile: Create a file called.envin the main directory with this content:HF_AUTH_TOKEN=<your_huggingface_token>Run the Application with Uvicorn:
uvicorn main:app --reload --host 0.0.0.0 --port 8080main:app: Adjust if your Python file or app instance have different names.--reload: Enables auto-reloading on code changes (great for development).--host 0.0.0.0: Allows access from other devices on your network. Remove for local-only access.--port 8080: Change if you need a different port.
Access the Application: Open your browser:
- Locally:
http://localhost:8080 - From another device:
http://<your_server_ip>:8080
- Locally:
Option 2: Docker Compose Deployment (Recommended if no CUDA)
Docker Compose simplifies deployment by managing the application and its dependencies in a container.
Install Docker and Docker Compose: Follow the official instructions for your operating system: Docker Installation and Docker Compose Installation.
Create a
.envfile: Create a.envfile in the same directory as yourcompose.yamlfile. Add your Hugging Face token:HF_AUTH_TOKEN=<your_huggingface_token>Important: Do not commit your
.envfile to version control.Build and Run: From the directory containing
compose.yaml, run:docker compose up --buildThe
--buildflag forces a rebuild of the image, ensuring any changes to your code orrequirements.txtare included. You can omit--buildon subsequent runs if you haven’t made changes. Usedocker compose up -d --buildto run in detached mode.Access the Application: Same as above (http://localhost:8080 or http://<your_server_ip>:8080).
Stop the application:
docker compose down
Option 3: Docker Deployment (Without Docker Compose)
Build the Docker Image:
docker build -t subtitle-generator .Run the Docker Container:
docker run -d -p 8080:8080 --name subtitle-generator -e HF_AUTH_TOKEN=<your_huggingface_token> subtitle-generatorReplace
<your_huggingface_token>with your actual Hugging Face token.Access the Application: Open your web browser and go to:
http://localhost:8080(if you’re accessing it from the same machine)http://<your_server_ip>:8080(if accessing from another device on your network, replace<your_server_ip>with the server’s IP address)
You should see the “Subtitle Generator” web page.
API Documentation
The API provides a single endpoint for uploading audio files and receiving generated subtitles.
- Endpoint:
/upload-audio/ - Method:
POST - Request:
Content-Type:multipart/form-data- Form Fields:
audio_file: (Required) The audio file to be transcribed.file_type: (Required) The desired subtitle format:srtorvtt.
- Response:
- Success (Status Code: 200 OK):
Content-Type:application/x-subrip(for.srt) ortext/vtt(for.vtt).- The response body contains the generated subtitle file content, ready for download. The response headers include
Content-Disposition: attachment; filename="<original_filename>.<srt|vtt>", prompting the browser to download the file.
- Error (Status Codes: 400, 413, 500):
Content-Type:application/json- Body: A JSON object containing an error description:
{ "detail": "Error message describing the problem." } - Possible Error Scenarios:
- Unsupported File Format (400): If the uploaded file is not one of the supported formats (
.wav,.mp3,.m4a,.flac). Example:{ "detail": "File format not supported. Please upload a file with one of the following extensions: .wav, .mp3, .m4a, .flac" } - File Size Exceeded (413):
{ "detail": "File size exceeds the maximum limit of 50 MB." } - Processing Error (500): Any other error during transcription or diarization. The error message will provide more details. Example:
{ "detail": "An unexpected error occurred during processing: <specific error message>" } - Diarization/Token Error (500): If the Hugging Face token is invalid or missing, or if the user agreements haven’t been accepted.
{ "detail": "Failed to load diarization pipeline: ... Ensure your token has the necessary permissions and you have accepted the user conditions at [https://hf.co/pyannote/speaker-diarization](https://hf.co/pyannote/speaker-diarization)."}
- Unsupported File Format (400): If the uploaded file is not one of the supported formats (
- Success (Status Code: 200 OK):
Model Selection and Hardware Considerations
The application automatically selects the most appropriate Whisper model based on your system’s available RAM and VRAM (GPU memory). Here’s how it works:
- RAM Check: The script checks the total available system RAM.
- Model Prioritization: It then tries to load the largest possible Whisper model that fits within the available RAM, in this order of priority (largest/most accurate to smallest/fastest):
large(~10GB RAM required)turbo(~6GB RAM required)medium(~5GB RAM required)small(~2GB RAM required)base(~1GB RAM required)tiny(~1GB RAM required)
- GPU (CUDA) Utilization: If a CUDA-enabled GPU is detected and its VRAM is sufficient for the selected model, the model will be loaded onto the GPU for significantly faster processing. Otherwise, it will use the CPU.
- Insufficient RAM message: If your system has insufficient RAM the program raises an error and stops.
This dynamic selection ensures optimal performance without requiring manual configuration. You’ll see a message in the console indicating which model was selected and whether it’s using the CPU or GPU.
Contributing
Contributions are welcome! If you’d like to contribute:
- Fork the repository.
- Create a new branch for your feature or bug fix:
git checkout -b feature/my-new-featureorgit checkout -b bugfix/fix-issue-123. - Make your changes and commit them with clear, concise commit messages.
- Push your branch to your forked repository.
- Submit a pull request to the main repository.
Limitations
- Model Accuracy: The accuracy of the subtitles depends on the selected Whisper model. Larger models are generally more accurate but require more resources. Noisy audio or complex language can also impact accuracy.
- Speaker Diarization: While pyannote.audio provides speaker diarization, it’s not perfect. Overlapping speech or similar-sounding voices can sometimes lead to errors in speaker identification.
Further Improvements (TODOs)
- Implement Progress Bar: Display a progress bar during upload and processing to provide feedback to the user.
- Improve Subtitle Quality: Explore techniques for improving subtitle segmentation and formatting (e.g., sentence-level segmentation, handling overlapping speech).
- Allow users to specify the model: Add a form field in the HTML page to let the user select the desired Whisper model (tiny, base, small, medium, large), overriding the automatic selection.
- Add a reset button: Add a button to reset the form.
- Add WebVTT styling capabilities: Research the WebVTT format and add options to specify parameters like text color and position.